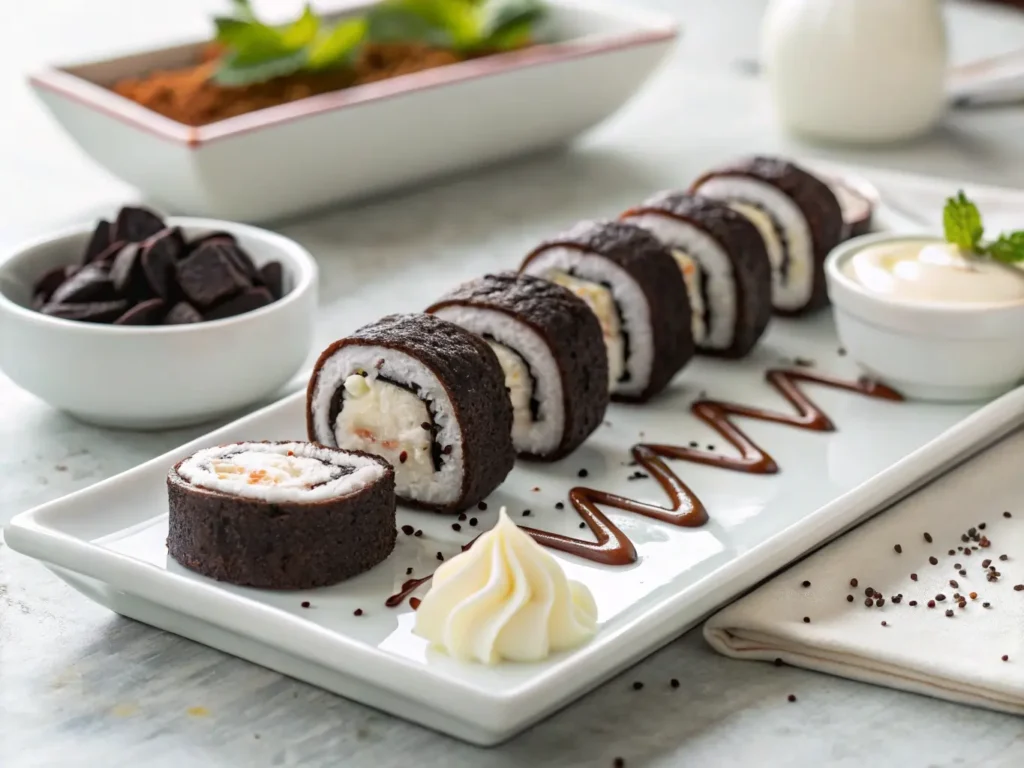
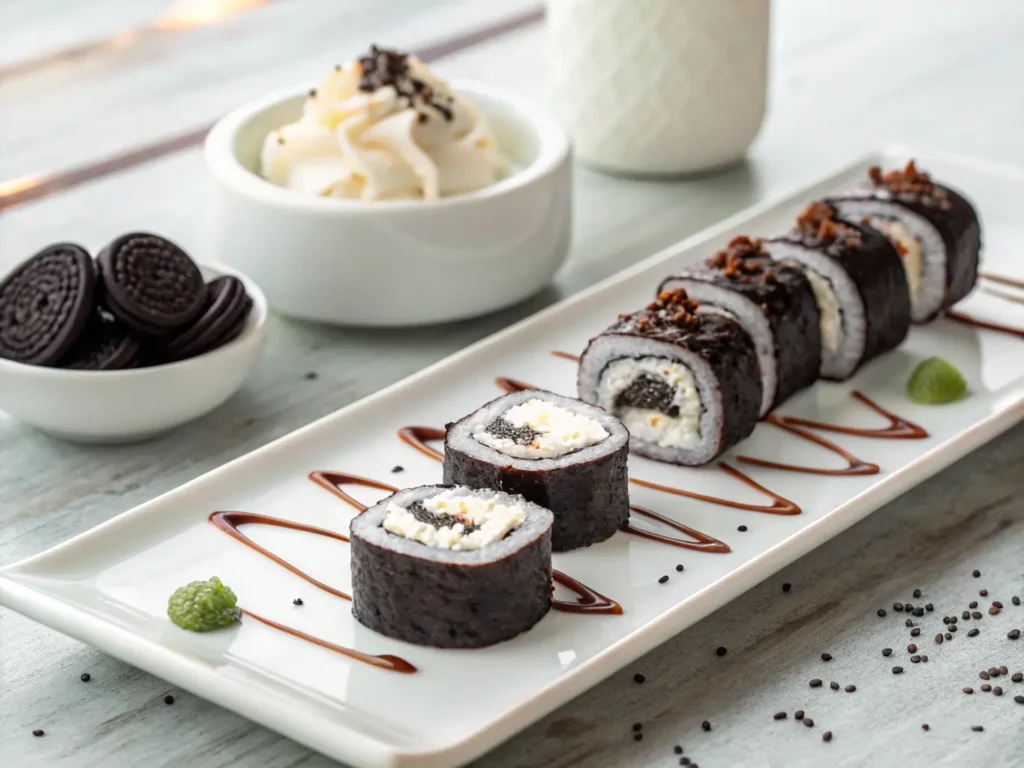
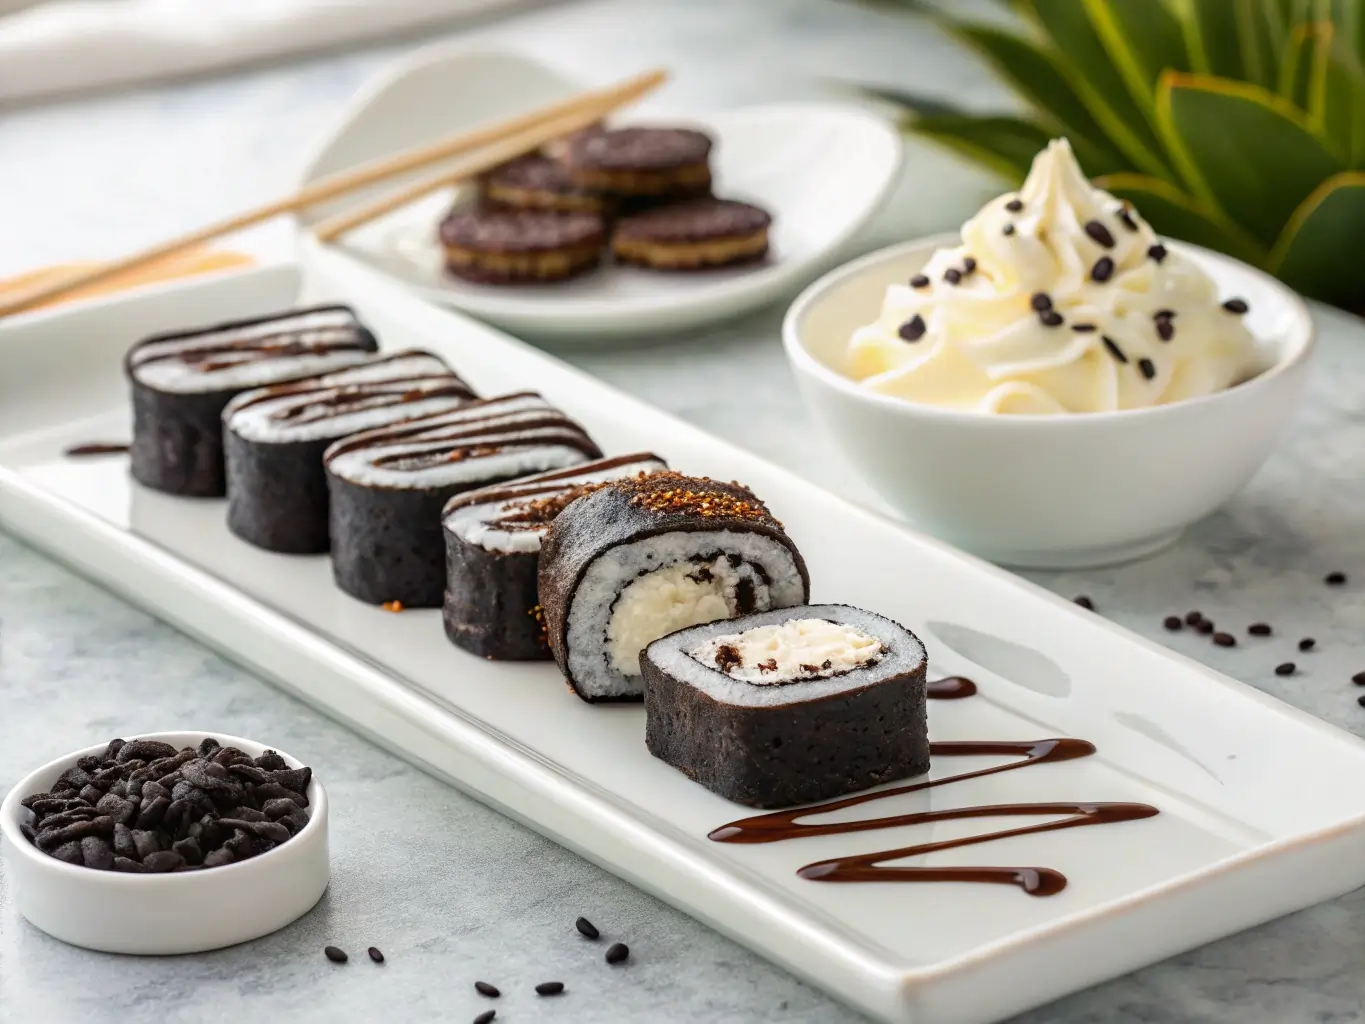
Sugar can transform raw fish into a sweet culinary experience. This Oreo Sushi Recipe will transform your perceptions about what can be made with Oreo cookies because it targets both sweet tooth and dessert-loving fans of this classic treat. The no-bake dessert delivers a pleasurable eating experience because its rich chocolate wafer crunch and creamy filling combine into a delicious result.
Homemade sweets made from Oreo cookies transform traditional delicacies into tiny delightful treats that anyone can enjoy for parties and children or themselves as dessert. This recipe succeeds in delivering exciting results no matter what kind of dessert plate addition or child-friendly snack you need.
Ready to roll up some magic? Let’s dive in! 🍫✨
Table of Contents
Key Benefits of Oreo Sushi Recipe
The reasons to test this delightful dessert concept include The Oreo Sushi Recipe makes for both delicious and eye-catching dessert. Here’s why you’ll love it:
✅ No-Bake & Easy to Make – No oven? No problem! The easy-to-prepare dish completes itself quickly within just a few short minutes.
✅ This kind of dessert operates perfectly for both children and adults which makes it suitable for every social group.
✅ Customizable & Versatile – Get creative with fillings like Nutella, peanut butter, or even fresh fruit.
✅ The methods to shape these stunning sushi rolls are simple because their eye-catching appearance needs no sushi-proficency skills.
✅ The dessert attracts crowds at every celebration from parties to family events and weekend snack time.
The time has arrived to weave together beautiful edible creations. The following sections will cover all necessary ingredients needed for our project. 🍪✨
Ingredients for Oreo Sushi Recipe
Start your homemade sweet sushi process by assembling the listed basic materials:

Base Ingredients:
- The “rice” layer will be made from 20 Oreo chocolate wafer cookies.
- Softened cream cheese measured at 4 ounces turns into a smooth texture suitable for rolling dough with Oreos.
Filling Options (Choose One or Mix!):
- Nutella (2 tbsp) – Adds a rich, chocolatey-hazelnut surprise.
- Peanut butter (2 tbsp) – A creamy, nutty contrast to the Oreos.
- Strawberry jam (2 tbsp) – For a fruity, dessert sushi twist.
- Sliced bananas or strawberries (optional) – Adds freshness and a pop of color.
Topping & Garnish:
- White chocolate (4 oz, melted) – Creates a luscious drizzle over the rolls.
- Chocolate chips or sprinkles – For extra texture and visual appeal.
- Crushed Oreos – A final touch for that signature cookie crunch.
Now that you have everything ready, let’s roll up this no-bake dessert into something magical! 🍫✨
How to Make Oreo Sushi Recipe
Ready to roll? Follow these simple steps to create your delicious Oreo sushi rolls with ease.

Step 1: Make the Oreo Dough
- Crush the Oreos – Place the cookies (filling included) in a food processor and blend until they turn into fine crumbs. If you don’t have a processor, place them in a sealed bag and crush with a rolling pin.
- Mix with Cream Cheese – In a bowl, combine the crushed Oreos with softened cream cheese. Use a spatula (or your hands) to mix until a smooth, dough-like consistency forms.
Step 2: Roll Out the Dough
- Flatten the Dough – Lay a piece of parchment paper on a flat surface. Transfer the Oreo mixture onto the paper and press it into a thin, even rectangle about ¼ inch thick.
- Chill for Stability – Refrigerate the dough for about 10–15 minutes to make rolling easier.
Step 3: Add the Filling
- Spread the Goodness – Evenly spread your choice of filling (Nutella, peanut butter, or jam) over the flattened dough. If using fruit, layer thin slices across the surface.
Step 4: Roll it Up
- Carefully Roll – Using the parchment paper to help, gently roll the dough into a tight log, just like making traditional sushi.
- Chill Again – Place the roll in the fridge for another 15 minutes to firm up before slicing.
Step 5: Slice and Garnish
- Cut into Sushi Rolls – Use a sharp knife to slice the log into bite-sized pieces. Wipe the blade clean between cuts for neat edges.
- Drizzle and Decorate – Drizzle melted white chocolate over the rolls and sprinkle with crushed Oreos or chocolate chips for extra flair.
Step 6: Serve and Enjoy!
- Plate the Rolls – Arrange the sushi pieces on a serving dish and enjoy with chopsticks for a fun, playful twist.
Now, take a bite and experience the magical combination of chocolatey crunch and creamy filling—pure dessert bliss! 🍪✨
Pro Tips and Variations
Want to take your Oreo Sushi Recipe to the next level? Here are some expert tips and fun variations to make it even more irresistible!

Pro Tips for Perfect Oreo Sushi Rolls
✅ Use a food processor – This ensures a fine, even texture for the Oreo dough, making it easier to roll.
✅ Chill before rolling – Refrigerating the dough for 10–15 minutes makes it firmer and prevents it from sticking.
✅ Don’t overfill – A thin layer of filling helps the roll stay intact without oozing out.
✅ Clean your knife between cuts – Wiping the blade after each slice keeps the rolls neat and prevents smudging.
✅ Freeze for extra firmness – If your rolls are too soft, pop them in the freezer for 5–10 minutes before slicing.
Fun Variations to Try
🍓 Fruity Oreo Sushi – Add thin slices of strawberries, bananas, or raspberries inside for a refreshing twist.
🍫 Double Chocolate Delight – Mix cocoa powder into the Oreo dough for an extra-rich chocolate flavor.
🥜 Nutty Crunch – Sprinkle crushed almonds, hazelnuts, or peanuts inside for a satisfying crunch.
🎉 Colorful Party Rolls – Decorate with rainbow sprinkles or edible glitter to make them party-perfect.
🍦 Frozen Oreo Sushi – Freeze the rolls and serve them as a chilled dessert for a cool, creamy bite.
Experiment with these ideas and make your sweet sushi rolls uniquely yours. No matter how you customize them, they’ll always be a delicious, no-bake treat that wows everyone! 🍪✨
Serving Suggestions
Now that you’ve mastered the Oreo Sushi Recipe, it’s time to think about how to serve and enjoy these delicious sweet sushi rolls. Here are some creative ways to present and pair them for maximum fun and flavor!
Presentation Ideas
🍽️ Sushi Platter – Arrange your rolls on a platter and serve them like traditional sushi. Add a small bowl of whipped cream or chocolate dipping sauce for extra indulgence.
🎉 Party Ready – Place the rolls on a fun, colorful plate and top them with rainbow sprinkles or edible glitter for a festive look. Perfect for birthday parties or family gatherings.
🥢 Chopsticks – Serve the rolls with chopsticks to add to the sushi vibe. This makes the dessert even more interactive and enjoyable!
🍩 Sweet Pairings – Pair with a glass of milk, coffee, or a scoop of vanilla ice cream for a comforting dessert experience.
Storage Tips
🧊 Keep it Fresh – Store leftover Oreo sushi rolls in an airtight container in the fridge for up to 3 days.
❄️ Freeze for Later – These rolls can also be frozen. Simply place them in a single layer on a baking sheet, freeze until solid, then transfer to a ziplock bag. When you’re ready, let them thaw for a few minutes before serving.
These easy homemade sweets are as versatile as they are delicious, whether you’re hosting a party or just indulging in a sweet treat! Enjoy! 🍪✨
Conclusion
And there you have it—your very own Oreo Sushi Recipe that’s as fun to make as it is to eat! These no-bake dessert rolls bring together the best of chocolatey crunch and creamy indulgence, making them the perfect treat for any occasion. Whether you’re hosting a party, surprising the kids, or just satisfying your own sweet tooth, these easy homemade sweets are guaranteed to impress.
The best part? You can customize the filling to suit your preferences—go classic with peanut butter, mix things up with Nutella, or even add fresh fruit for a pop of color. The Oreo sushi rolls are versatile, fun, and always a crowd-pleaser!
So, next time you’re in the mood for a unique dessert idea, try making these adorable sushi rolls. They’ll quickly become your go-to sweet snack. Happy rolling! 🍪✨
FAQs
1. Can I make Oreo sushi in advance?
Yes! You can prepare these Oreo sushi rolls ahead of time. For up to three days, just keep them in the refrigerator in an airtight container. They can also be frozen—just make sure to freeze them in a single layer first, and then store in a ziplock bag for up to 1 month. When ready to serve, allow them to thaw slightly for the best texture.
2. Can I substitute the cream cheese?
Absolutely! If you’re not a fan of cream cheese, you can swap it for softened cream-filled marshmallow fluff or whipped topping for a lighter, fluffier texture. The key is to create a smooth, spreadable base that will hold the Oreo crumbs together.
3. Can I add other fillings?
Of course! This recipe is highly customizable. Try other fillings, such as peanut butter, Nutella, or even marshmallow fluff. You could also try adding fresh fruits like sliced strawberries or bananas for extra sweetness.
4. Do I need to use a food processor?
A food processor makes crushing the Oreos a breeze, but you can also crush them by hand. Place the cookies in a resealable bag and use a rolling pin to crush them into fine crumbs. Just be sure the mixture is well-blended for the best consistency.
5. How can I make these Oreo sushi rolls more festive?
Add some fun decorations! Use rainbow sprinkles, edible glitter, or a drizzle of melted white chocolate on top to make them even more eye-catching. These extra touches will make your rolls the star of any party or gathering.
6. Is there another kind of cookie I can use?
While Oreos give the best flavor and texture, feel free to try other sandwich cookies, like Chips Ahoy or Lorna Doone for a twist. Just keep in mind that the texture and flavor might change slightly, but it will still be a delicious treat!
Feel free to get creative with your Oreo sushi recipe and adapt it to your liking. The fun of this treat lies in the endless possibilities! 🍪✨

