Making bagels at home is not just about creating a delicious treat; it’s an experience that combines the joy of baking with the rich history of this beloved bread. Whether you’re a seasoned baker or stepping into the world of baking for the first time, crafting your own bagels can be incredibly rewarding. The process allows you to infuse your personal touch into every chewy bite, transforming basic ingredients into something special.
Table of Contents
Why Homemade Bagels?
Homemade bagels offer a distinct freshness and flavor that store-bought versions often lack. By making them yourself, you can control the quality of ingredients, ensuring that each bagel is crafted to your taste. Plus, the satisfaction of pulling a batch of golden-brown bagels from your oven is unmatched. Not to mention, with the flexibility of choosing your toppings and flavors, you’ll never run out of delicious combinations to try.
What to Expect in This Guide
In this post, we will guide you through the entire process of making bagels from scratch. Starting with the essential ingredients and tools you’ll need, we’ll walk you through each step with clarity and precision. Our aim is to make this bagel recipe simple enough for beginners to follow, while still providing tips and tricks that even seasoned bakers will find valuable. By the end of this guide, you’ll have the skills and confidence to create bakery-quality bagels in your own kitchen.
The Journey of Bagel Making
Embarking on this bagel-making journey means understanding the nuances of dough preparation, mastering the unique boiling step, and learning the art of baking to perfection. Each stage is an opportunity to hone your baking skills and discover the secrets to achieving that perfect bagel texture—crispy on the outside and delightfully chewy on the inside.
Join us as we dive into the world of homemade bagels, where each step is a building block toward creating a delicious and satisfying homemade treat. Whether you’re aiming for the classic plain bagel or ready to experiment with exciting flavors, this guide will equip you with everything you need to succeed.
Ingredients and Tools Needed
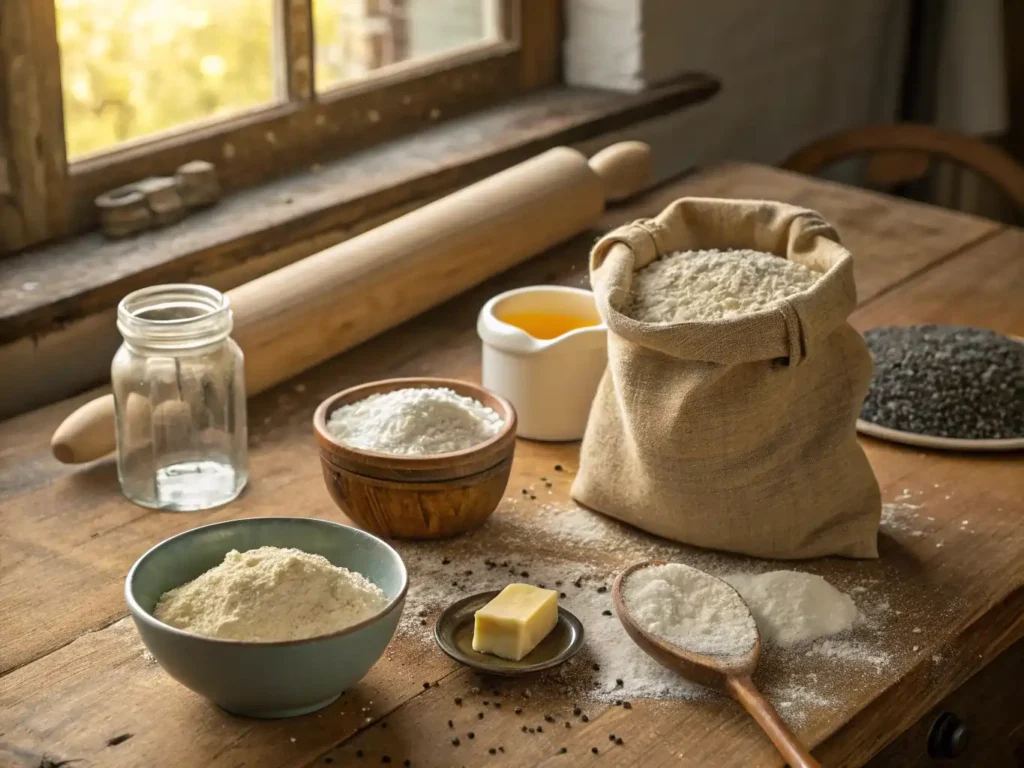
Before diving into the art of bagel crafting, it’s essential to gather all the necessary ingredients and tools. Having everything prepared in advance not only streamlines the process but also ensures that your bagels turn out perfect every time.

Essential Ingredients for Homemade Bagels
- All-Purpose Flour
The backbone of any good bagel is high-quality flour. All-purpose flour is ideal for this recipe, providing the right balance of strength and flexibility for a chewy texture. If you prefer a slightly heartier bagel, you can substitute a portion with bread flour for added density. - Active Dry Yeast
Yeast is the magical ingredient that gives bagels their rise and airy texture. Active dry yeast needs to be proofed in warm water before being mixed into the dough. This step is crucial for activating the yeast and ensuring your bagels have the perfect rise. - Sugar and Salt
Sugar serves as food for the yeast, aiding in the fermentation process and contributing to the bagels’ flavor. Salt, on the other hand, enhances taste and strengthens the dough structure. Together, they create a harmonious balance in the final product. - Warm Water
The temperature of the water is critical when working with yeast. It should be warm but not hot, ideally between 105°F and 110°F, to activate the yeast without killing it. Proper hydration is key to a well-formed dough. - Optional Toppings
While plain bagels are delightful, toppings like poppy seeds, sesame seeds, or even everything bagel seasoning can add extra flavor and texture. Feel free to experiment with your favorite toppings to customize your homemade bagels.
Tools and Equipment for Bagel Making
- Mixing Bowls
You’ll need a few mixing bowls of various sizes to accommodate the dough at different stages. A large bowl is essential for mixing ingredients and allowing the dough to rise. - Stand Mixer (Optional)
A stand mixer with a dough hook attachment can make the kneading process more manageable, especially for beginners. However, kneading by hand is entirely possible and can be a therapeutic experience. - Baking Sheet
A sturdy baking sheet is necessary for baking your bagels. Using parchment paper as a liner keeps the bagels from sticking and promotes uniform baking. - Large Pot
Boiling is a unique step in bagel making that helps achieve the characteristic chewy crust. A large pot is needed to boil the bagels before baking. Make sure it’s deep enough to allow them to float freely. - Slotted Spoon or Skimmer
This tool is handy for removing bagels from the boiling water without damaging their shape. It allows excess water to drain off easily before transferring the bagels to the baking sheet.
By assembling these ingredients and tools beforehand, you’ll be well-prepared to embark on your bagel-making adventure. This preparation sets the stage for a smooth and enjoyable baking experience, ensuring that each step is executed with precision and care.
Step-by-Step Bagel Recipe
Crafting bagels at home is a rewarding endeavor that involves a sequence of well-orchestrated steps. By understanding and following these steps, you can achieve bagels that boast a perfect balance of chewiness and flavor, reminiscent of your favorite bakery.

Preparing the Bagel Dough
- Mixing and Kneading the Dough
Begin by proofing the active dry yeast in warm water with a touch of sugar. This activates the yeast, which is crucial for the dough to rise properly. Once the yeast is bubbly and foamy, combine it with all-purpose flour and salt in a large mixing bowl. If you’re using a stand mixer, secure the dough hook and blend on low speed until the dough forms a cohesive mass. - Alternatively, you can mix by hand, kneading the dough on a lightly floured surface. The dough should be smooth and elastic, which typically takes about 8-10 minutes of kneading.
- Proofing the Dough
After kneading, transfer the dough to a lightly oiled bowl, covering it with a damp cloth or plastic wrap. Let it rise in a warm, draft-free area until it doubles in size, which usually takes about 1-2 hours. This proofing stage is essential for developing the structure and flavor of your bagels. - Handling Sticky Dough
If the dough feels too sticky, lightly flour your hands and the work surface as needed. However, be cautious not to add too much flour, as this can lead to dense bagels.
Shaping and Boiling Your Bagels
- Dividing and Shaping the Dough
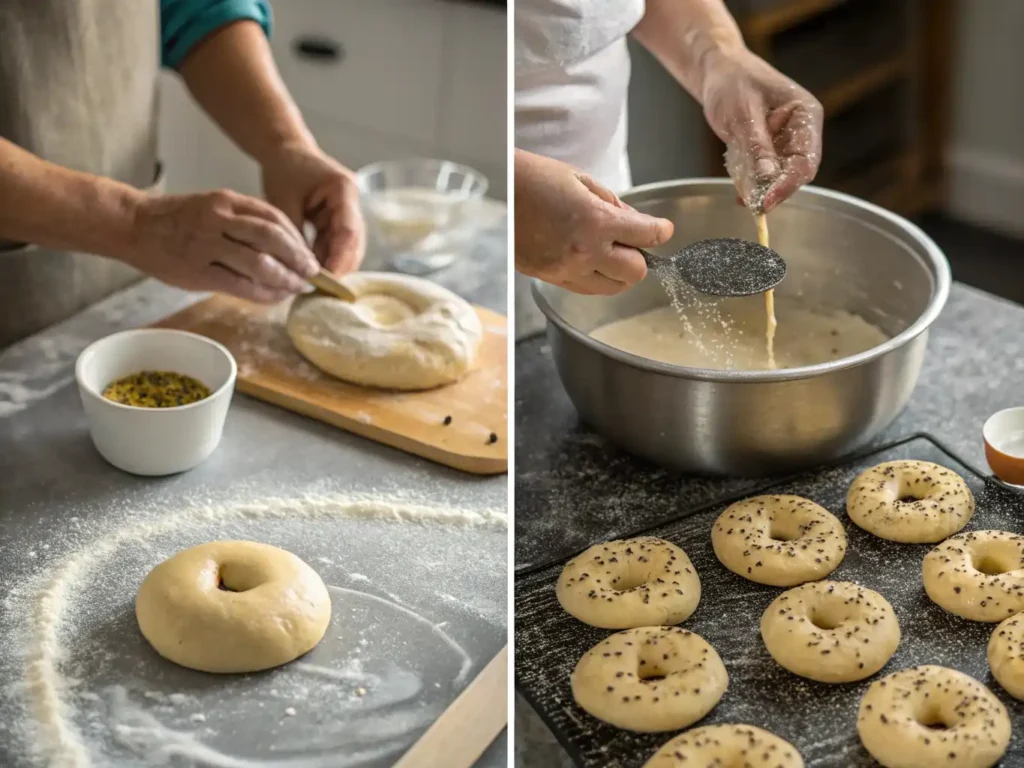
After the dough has risen, gently deflate it by pressing down to expel any excess air. - Divide it into equal portions, typically 8-10 pieces, depending on your desired bagel size. Roll each piece into a smooth ball, then use your thumb to poke a hole in the center, gently stretching it to form the bagel shape. Aim for a hole about 2 inches in diameter, as it will shrink during boiling and baking.
- Boiling the Bagels
Bring a large pot of water to a gentle boil, adding a tablespoon of sugar or honey, which helps achieve a shiny crust. Carefully drop a few bagels into the boiling water, ensuring they have enough space to float freely. Boil each side for about 1 minute for a softer crust, or up to 2 minutes per side for a chewier crust. Use a slotted spoon to remove the bagels, allowing excess water to drain off. - Achieving the Perfect Chewy Consistency
The boiling step sets the crust and gives bagels their signature chewy texture. Adjusting the boiling time can help you achieve your preferred level of chewiness.
With these detailed steps, readers will be equipped to tackle the bagel-making process confidently. Each stage is an opportunity to refine their baking skills and personalize their bagels to perfection.
Baking and Serving Suggestions
Once your bagels are boiled and ready, the baking process will transform them into golden, aromatic delights. Following the baking, you’ll have the opportunity to enjoy these bagels in a variety of delicious ways.

Baking Your Bagels to Perfection
- Preheating the Oven and Arranging Bagels
Preheat your oven to 425°F (220°C) to ensure it reaches the right temperature before you start baking. Line a baking sheet with parchment paper to prevent sticking and arrange the boiled bagels on the sheet. Make sure to leave enough space between each bagel so they can bake evenly and expand without sticking together. - Topping Your Bagels
Before placing the bagels in the oven, sprinkle them with your choice of toppings. Classic options include poppy seeds, sesame seeds, or everything bagel seasoning. For these toppings to adhere well, you can lightly brush the tops of the bagels with egg wash. This not only helps the toppings stick but also contributes to a beautifully glossy finish. - Achieving a Golden-Brown Crust
Bake the bagels in the preheated oven for 20-25 minutes, or until they turn a deep golden brown. Watch carefully during the final minutes to avoid excessive browning. - For an extra-crispy crust, you can rotate the baking sheet halfway through the baking time. Once baked, transfer the bagels to a wire rack to cool slightly before serving.
Enjoying Your Homemade Bagels
- Serving Suggestions: Cream Cheese and Beyond
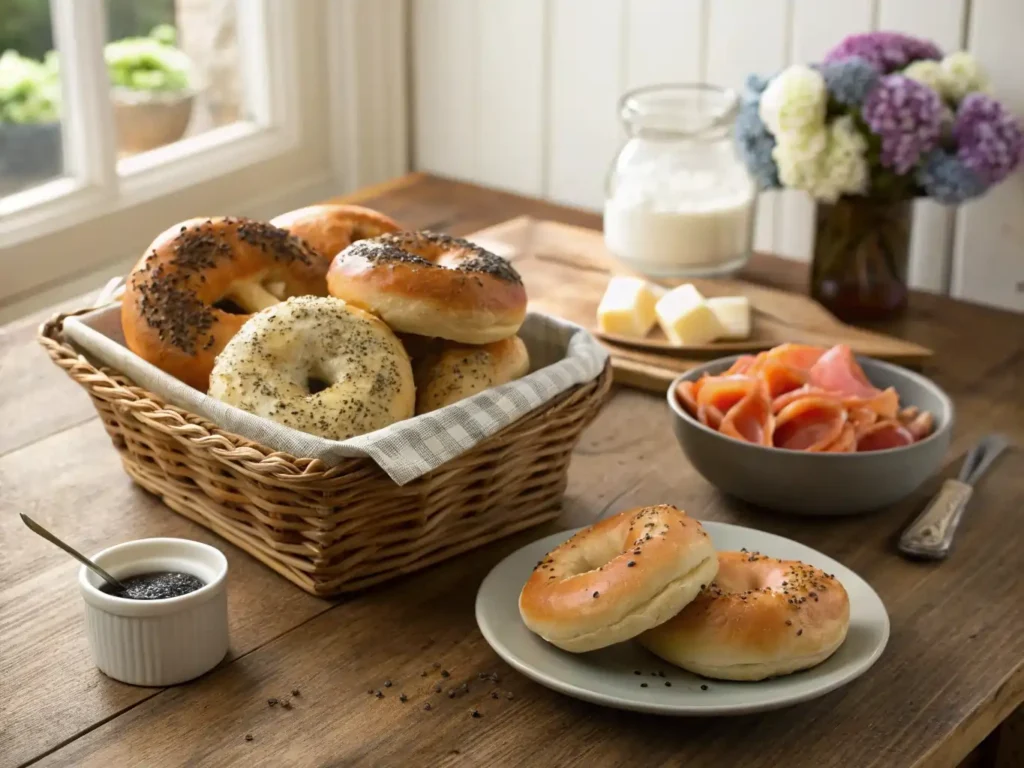
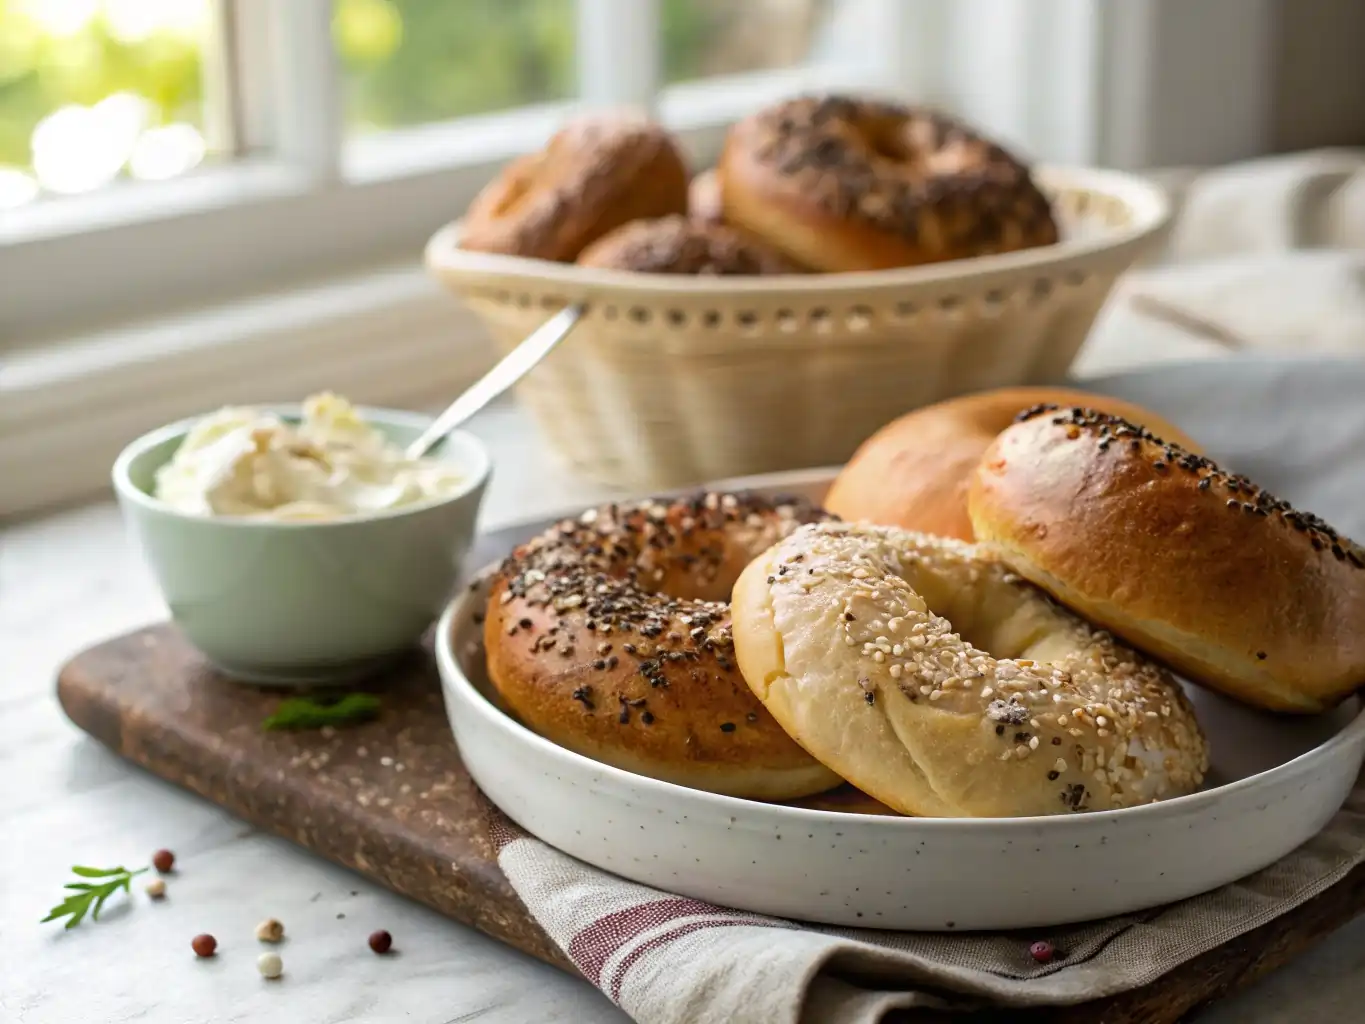
The classic combination of a freshly baked bagel with cream cheese is hard to beat. Consider offering a variety of cream cheese flavors, such as plain, chive, or strawberry, to cater to different tastes. For an elevated experience, try adding smoked salmon, capers, and thinly sliced red onions for a traditional lox and bagel. - Creative Breakfast Bagel Ideas
Bagels aren’t just for breakfast, but they certainly shine in the morning. Consider using them as a base for breakfast sandwiches. Top them with scrambled eggs, crispy bacon, and avocado for a hearty start to the day. Alternatively, a simple spread of butter and jam can be a delightful option for those who prefer something lighter. - Experiment with Flavors and Toppings
Encourage readers to get creative with their bagels by experimenting with various flavors and toppings. Sweet options like cinnamon-raisin or blueberry bagels can be a delightful treat. Savory variations, such as jalapeño-cheddar or sun-dried tomato, can offer a unique twist on the classic.
This section not only guides readers through the final baking steps but also inspires them with diverse ways to enjoy their homemade bagels. By offering a range of suggestions, you cater to different tastes and occasions, enhancing the overall appeal of the post.
Conclusion
Embarking on the journey of making homemade bagels is both an art and a science, offering the opportunity to create something truly special and personal. From the initial preparation of simple ingredients to the satisfying moment of pulling golden-brown bagels from the oven, each step is filled with discovery and delightful anticipation.
Recap of the Bagel-Making Process
Throughout this guide, we’ve explored the essential components of creating the perfect bagel from scratch. By carefully selecting your ingredients, mastering the kneading and proofing of the dough, and understanding the unique boiling process, you now have the tools and knowledge to craft bagels that rival those from your favorite bakery. The final baking and topping steps allow for creative expression, resulting in a homemade treat that is as versatile as it is delicious.
Encouragement to Experiment and Share
Making bagels at home is just the beginning of your culinary exploration. With this foundational recipe, you have the flexibility to experiment with different flavors, textures, and toppings. Whether you prefer the classic simplicity of a plain bagel or wish to venture into bold new combinations, the possibilities are endless. We encourage you to try different variations and make the recipe your own.
Engage with Your Community
We invite you to share your bagel-making experiences with us. Whether you encountered challenges or discovered new tips, your insights can inspire and assist fellow bakers. You’re welcome to share your thoughts or ask any questions in the comments section. Engaging with others who share your passion for baking can enrich your journey and foster a sense of community.
Future Explorations
If you enjoyed this guide, stay tuned for more baking adventures. From sweet pastries to hearty breads, there is a world of recipes to explore, each offering its own unique set of challenges and rewards. We look forward to sharing these experiences with you and continuing to support your growth as a home baker.

