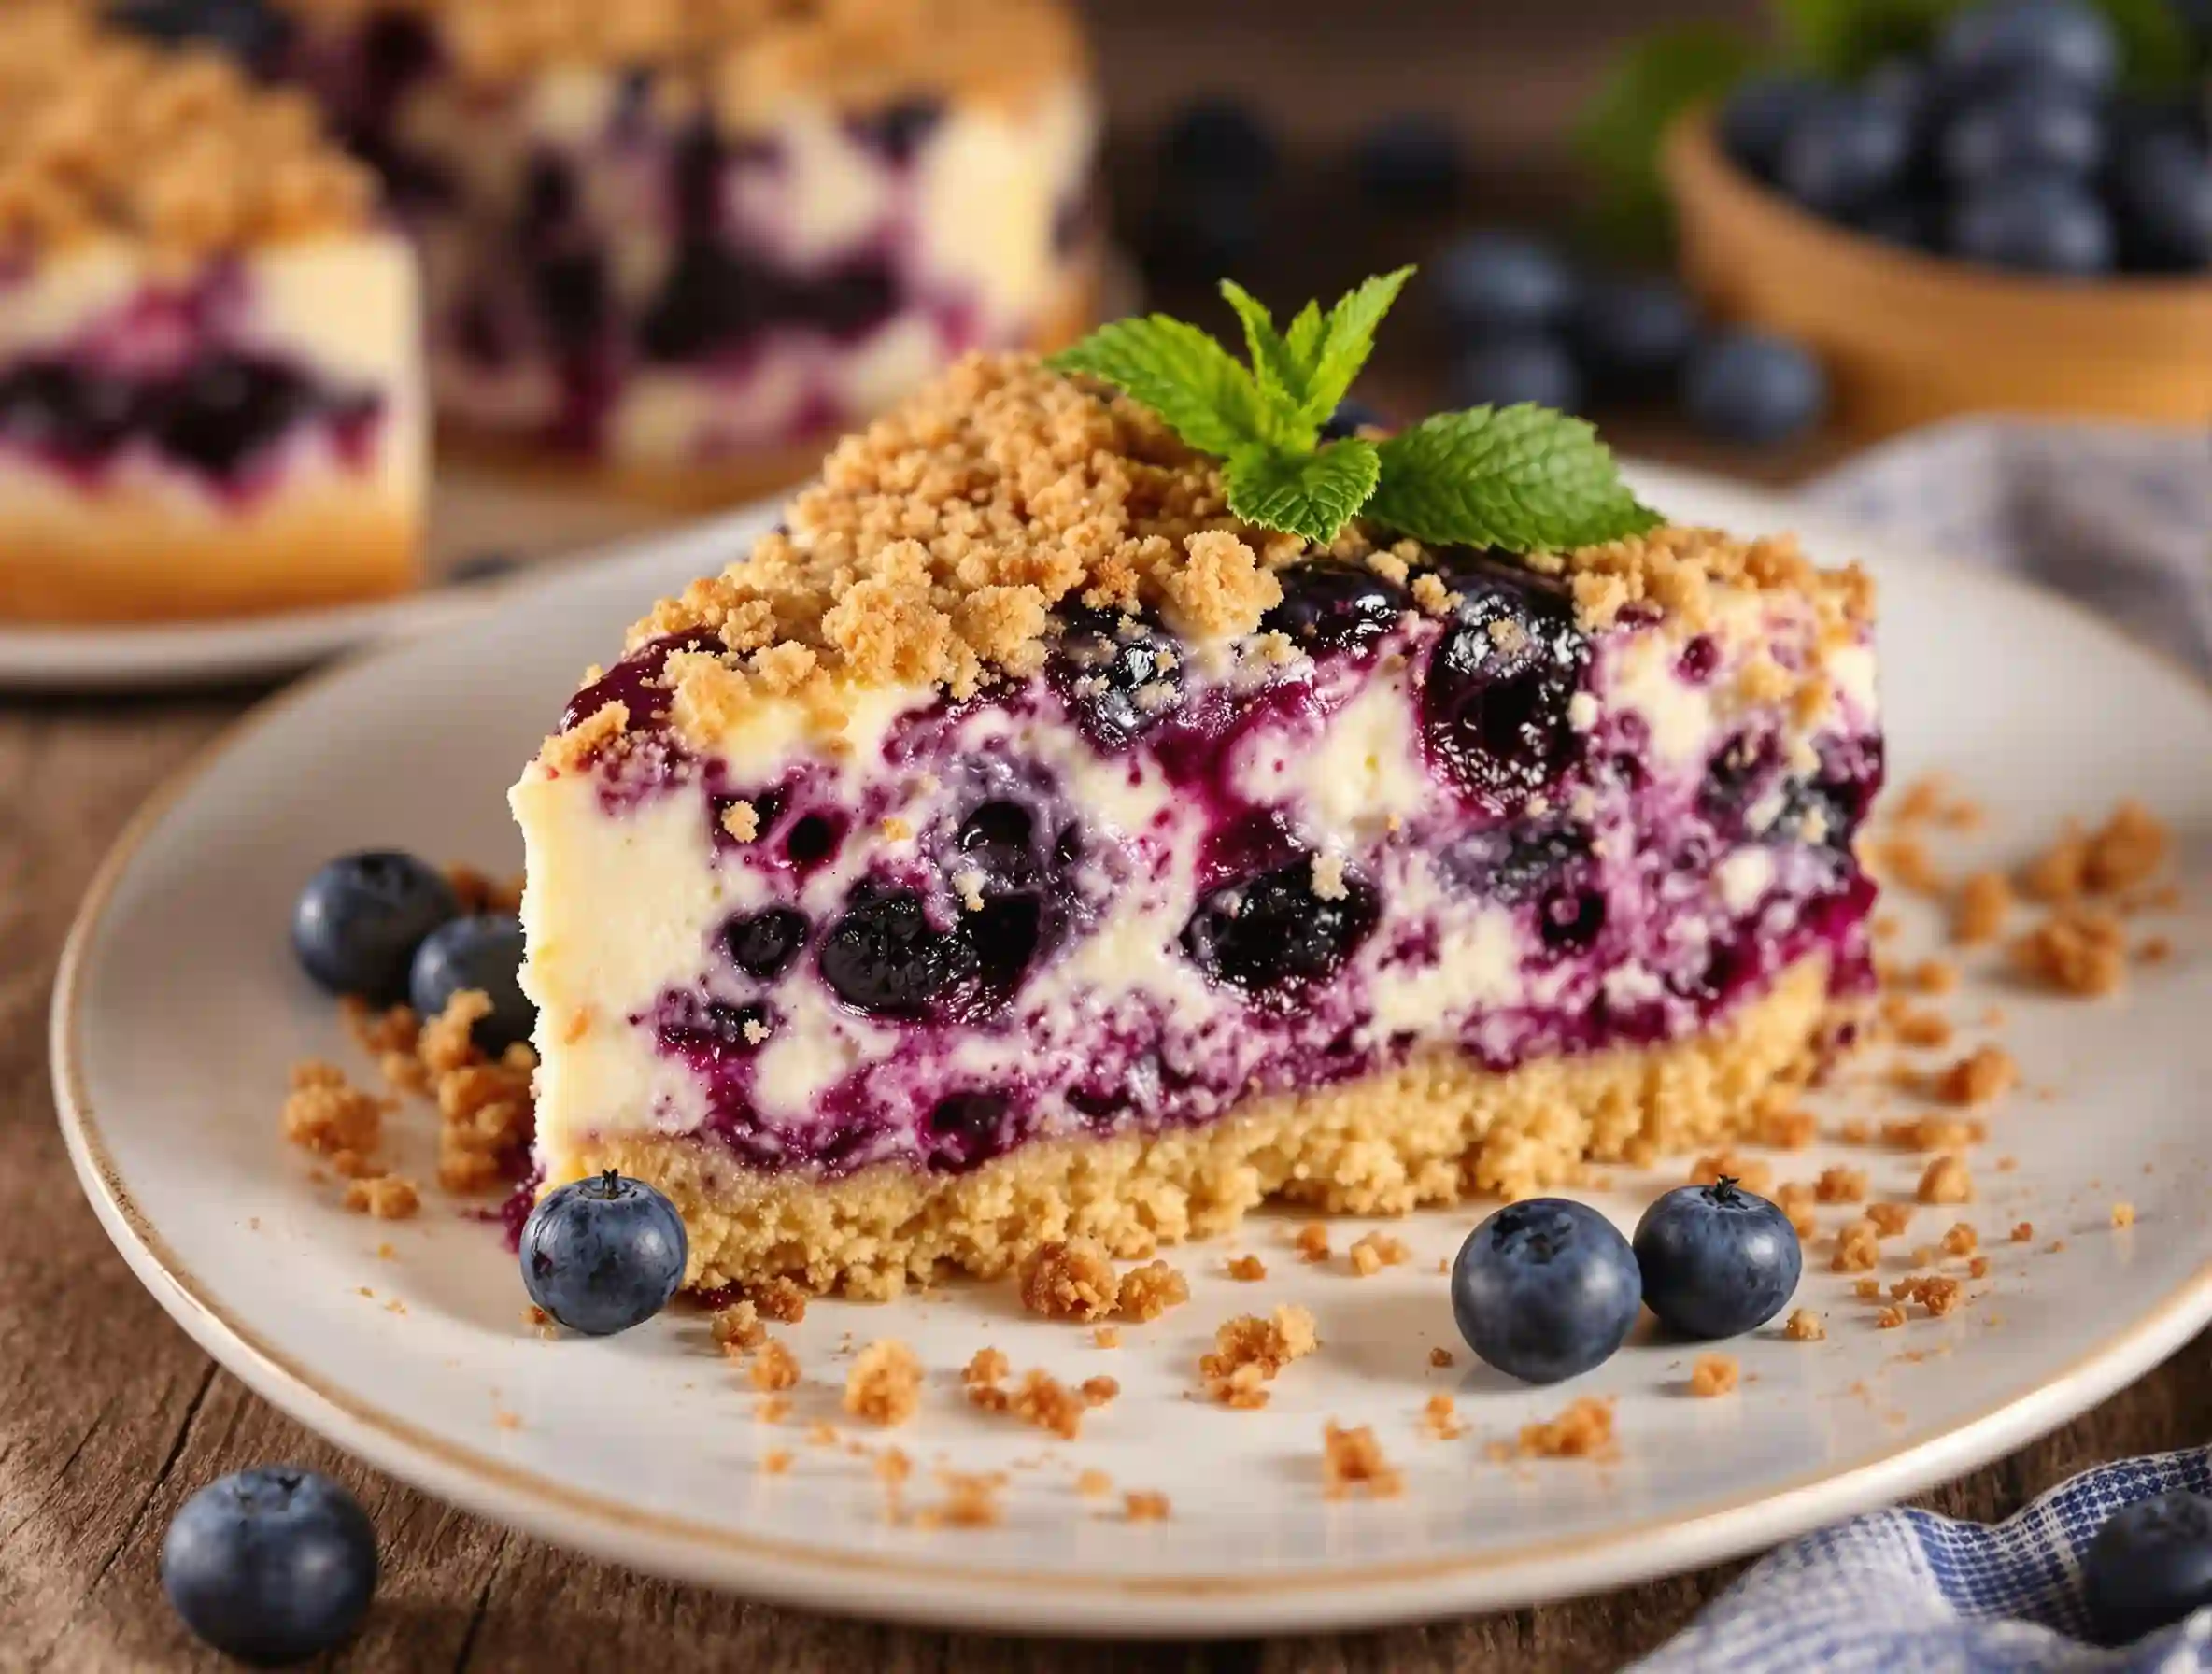
There’s something undeniably irresistible about the combination of sweet, tangy blueberries and the creamy richness of cheesecake. When these flavors are brought together in a delightful blueberry cheesecake crumb, the result is a dessert that tantalizes the senses and satisfies any sweet tooth. Whether you’re planning a special gathering or simply looking to indulge in a treat at home, this recipe promises to deliver perfection with every bite.
The beauty of a blueberry cheesecake crumb lies not only in its exquisite taste but also in its simplicity. With a handful of readily available ingredients and straightforward steps, you can create a dessert that feels gourmet without the fuss. At the heart of this recipe are essential components like smooth cream cheese, vibrant fresh blueberries, and a perfectly crisp graham cracker crust, all of which come together to create a symphony of flavors and textures.
In this guide, we’ll walk you through the process of making a blueberry cheesecake crumb from scratch, highlighting key tips and techniques to ensure your creation is nothing short of delightful. From selecting the best ingredients to mastering the art of baking a cheesecake, you’ll find everything you need to succeed. So, roll up your sleeves and get ready to embark on a culinary journey that will leave your taste buds craving more.
Table of Contents
Ingredients Needed for Blueberry Cheesecake Crumb
When it comes to crafting the perfect blueberry cheesecake crumb, the quality and balance of ingredients play a crucial role in achieving that rich, creamy texture and delightful flavor. Here’s a detailed look at what you’ll need to gather before you start baking:
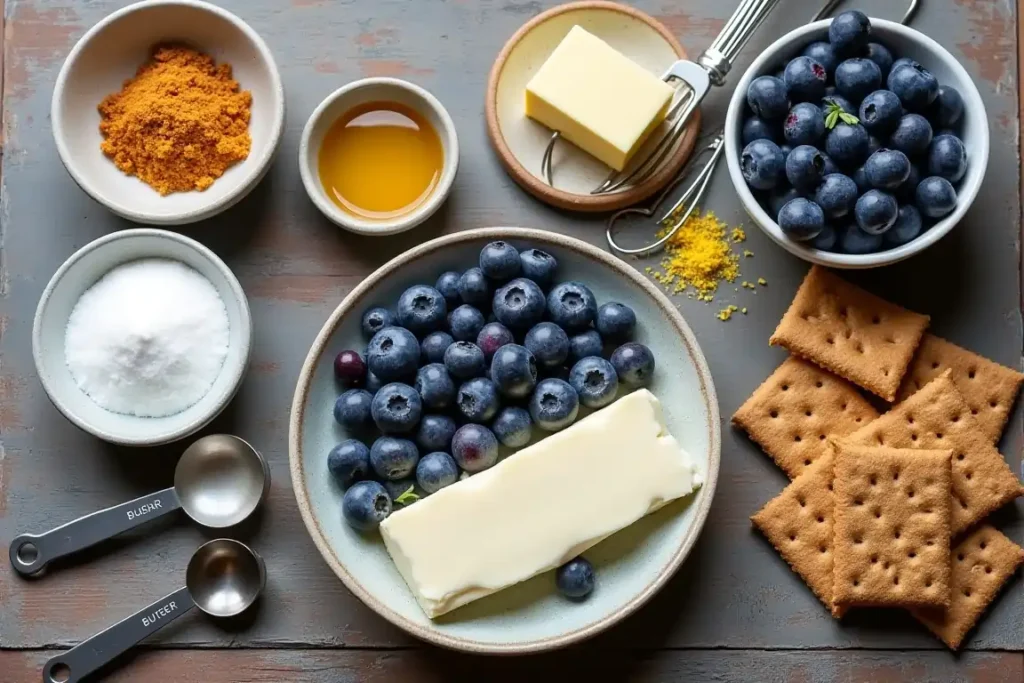
- List of Key Ingredients:
- Cream Cheese: The star of any cheesecake, cream cheese provides the rich, velvety base that defines this dessert. For the most flavor and texture, use full-fat cream cheese. You’ll need about two 8-ounce packages, softened to room temperature to ensure smooth mixing.
- Fresh Blueberries: These juicy berries add a burst of flavor and a pop of color to your cheesecake. You may use either frozen or fresh blueberries, depending on the season. To avoid too much moisture, defrost and thoroughly drain them if using frozen.
- Graham Crackers: The foundation of your crust, graham crackers should be crushed into fine crumbs. You’ll need enough to yield about 1 and 1/2 cups of crumbs. Use graham crackers sweetened with honey or cinnamon for extra taste.
- Sugar: Both brown sugar and granulated sugar are required for this recipe. Granulated sugar sweetens the filling, while brown sugar adds depth and richness to the crumb topping and crust.
- Butter: Melted butter binds the graham cracker crust and adds a luscious, buttery flavor. Unsalted butter is preferred, allowing you to control the salt content more precisely.
- Optional Ingredients:
- Vanilla Extract: A splash of vanilla enhances the sweetness and adds a warm, aromatic note to the cheesecake filling. For a more genuine taste, use pure vanilla extract.
- Lemon Zest: For a subtle citrusy brightness, lemon zest can be incorporated into the filling. It complements the blueberries perfectly, adding a refreshing zing.
- Baking Tools:
- Springform Pan: Essential for cheesecake, a springform pan allows for easy removal without damaging the delicate dessert. A 9-inch pan is ideal for this recipe.
- Electric Mixer: To achieve a smooth, lump-free cream cheese filling, an electric mixer is highly recommended. It saves time and ensures even mixing.
- Measuring Cups: Accurate measurements are crucial in baking to maintain the right balance of flavors and textures.
Equipped with these ingredients and tools, you’re ready to embark on your cheesecake-making adventure. Preparing these elements in advance will streamline the process, allowing you to focus on creating a dessert that’s as beautiful as it is delicious.
Preparing the Graham Cracker Crust
The graham cracker crust serves as the deliciously crunchy foundation of your blueberry cheesecake crumb, providing a perfect contrast to the creamy filling above it. Here’s how to prepare this essential component to perfection:
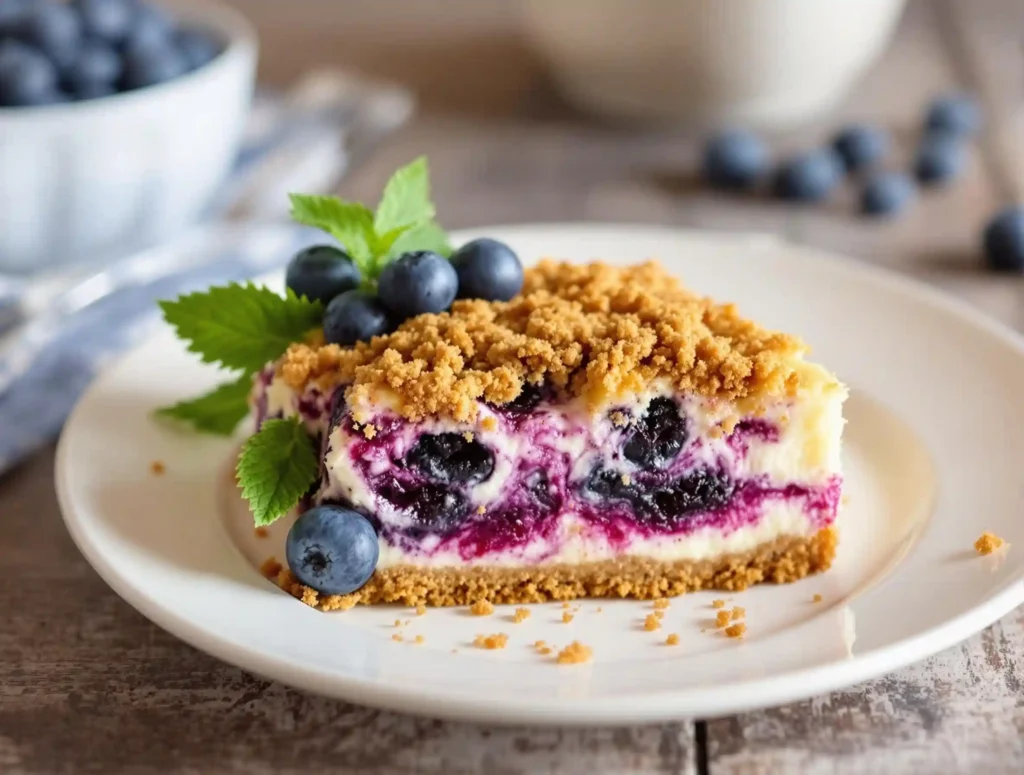
- Step-by-Step Instructions:
- Crushing Graham Crackers into Fine Crumbs: Start by placing the graham crackers in a food processor and pulse until you achieve fine crumbs. If you don’t have a food processor, you can alternatively place the crackers in a sealed plastic bag and crush them with a rolling pin until they reach the desired consistency. Aim for about 1 and 1/2 cups of crumbs for a standard 9-inch springform pan.
- Mixing with Melted Butter and Sugar: Transfer the graham cracker crumbs to a mixing bowl. Add 1/4 cup of granulated or brown sugar to the crumbs, enhancing the sweetness and flavor of the crust. Then, pour in 6 tablespoons of melted unsalted butter. Until the crumbs are uniformly covered and have the consistency of wet sand, stir the mixture.
- Pressing the Mixture Firmly into the Springform Pan: Evenly distribute the crumb mixture across the bottom of the springform pan. Use the back of a spoon or the bottom of a flat measuring cup to press the crumbs firmly and evenly across the pan’s base. Ensuring compactness is key to preventing the crust from crumbling when sliced.
- Tips for the Perfect Crust:
- Ensuring Even Thickness and Compactness: Pay close attention to the thickness of the crust, aiming for uniformity to ensure even baking. Press down firmly to compact the crumbs, preventing them from breaking apart during slicing.
- Pre-baking the Crust for a Crisp Texture: Preheat your oven to 350°F (175°C). Before adding the cheesecake filling, bake the crust for approximately ten minutes. Pre-baking helps set the crust, resulting in a crisp texture that contrasts beautifully with the creamy filling. Allow the crust to cool slightly before pouring in the batter.
By taking the time to craft a well-prepared graham cracker crust, you lay the groundwork for a cheesecake that’s not only structurally sound but also delightfully flavorful. This foundational step ensures your dessert is as appealing to the palate as it is to the eye.
Crafting the Creamy Cheesecake Filling
The heart of any cheesecake lies in its creamy filling, and getting it just right is essential for a truly delightful dessert. Here’s a detailed guide on how to craft the perfect creamy cheesecake filling for your blueberry cheesecake crumb:
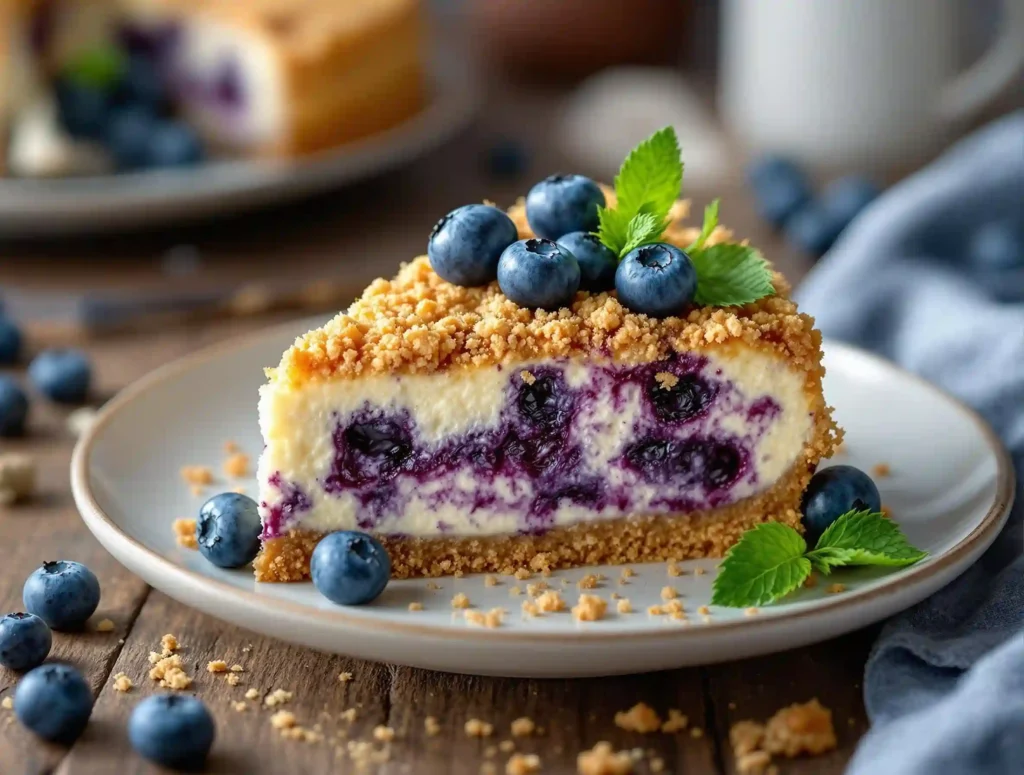
- Creating the Cream Cheese Mixture:
- Mixing Cream Cheese with Sugar and Vanilla Extract: Begin with two 8-ounce packages of full-fat cream cheese, softened to room temperature. This guarantees lump-free, smooth cream cheese blending. Place the cream cheese in a large mixing bowl and add 3/4 cup of granulated sugar. Using an electric mixer set to medium speed, beat the cream cheese and sugar together until the mixture is smooth and creamy. Add 1 teaspoon of pure vanilla extract to enhance the flavor with its warm, sweet notes. Continue to mix until the vanilla is fully incorporated.
- Incorporating Eggs One at a Time for Smoothness: To create a silky texture, add two large eggs to the cream cheese mixture, one at a time. After each addition, beat on low speed until just combined. Overbeating the eggs can introduce too much air, causing the cheesecake to rise and fall during baking, which can lead to cracks. Patience is key here—mix slowly to maintain the desired creamy consistency.
- Adding Fresh Blueberries:
- Gently Folding in Blueberries for a Burst of Flavor: Once the cream cheese mixture is ready, it’s time to introduce the fresh blueberries. You’ll need about 1 cup of blueberries, washed and dried thoroughly. Gently fold the blueberries into the filling using a spatula, taking care not to crush them. This method ensures that the blueberries remain whole, releasing their juicy flavor as you bite into the cheesecake.
- Distributing Evenly for Consistent Taste: As you fold in the blueberries, make sure they are evenly distributed throughout the filling. This ensures that each slice of cheesecake contains a satisfying amount of berries, providing a consistent burst of blueberry goodness in every bite.
Crafting the cream cheese filling with care and attention to detail is what elevates your cheesecake to a professional level. By following these steps, you ensure a luscious, creamy texture and a flavor profile that harmonizes beautifully with the graham cracker crust and crumb topping. The result is a cheesecake that delights both the eyes and the palate.
Assembling and Baking the Cheesecake
After preparing the key components of your blueberry cheesecake crumb, the next crucial step involves assembling them and baking the cheesecake to perfection. This process is where all your efforts come together to create a harmonious dessert.
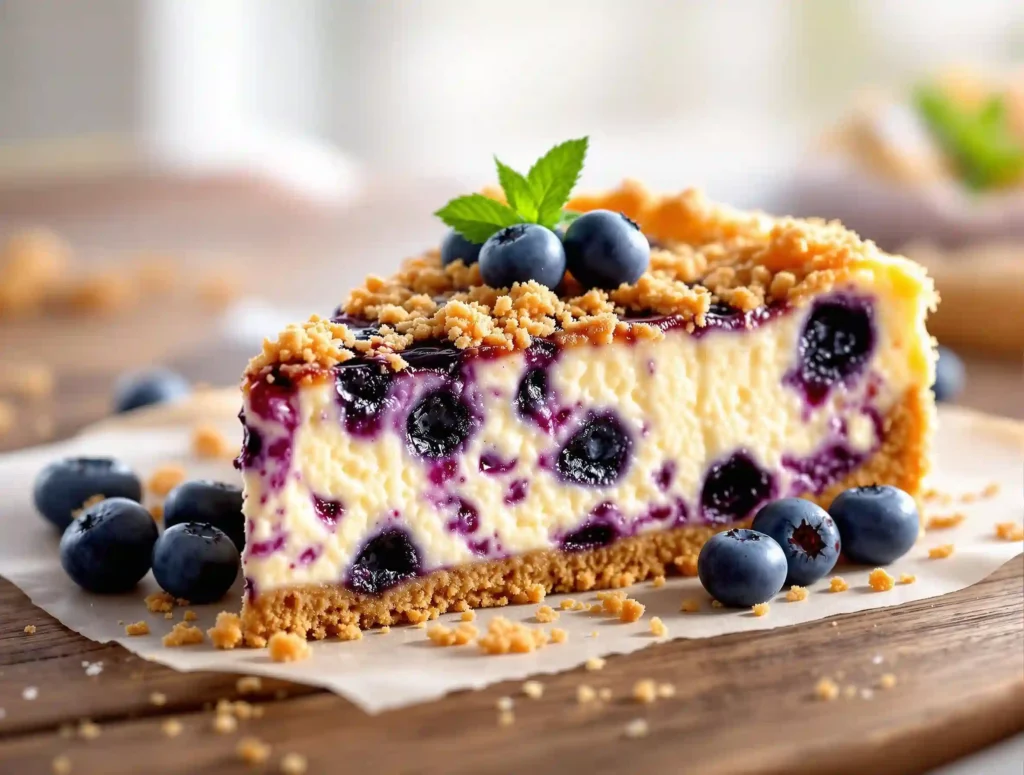
- Layering the Cheesecake:
- Pouring the Cream Cheese Filling Over the Prepared Crust: Once your graham cracker crust has been pre-baked and cooled slightly, it’s time to add the luscious cream cheese filling. Carefully pour the prepared filling over the crust in the springform pan. For a uniform coating, use a spatula to smooth the top. This step is essential for maintaining the uniformity and aesthetic of your cheesecake.
- Adding a Sweet Crumb Topping for Texture: To create the crumb topping, combine 1/2 cup of all-purpose flour, 1/4 cup of brown sugar, and 1/4 cup of chopped nuts (like pecans or walnuts, if desired) in a bowl. Add 1/4 cup of melted butter and mix until the mixture resembles coarse crumbs. Sprinkle this crumb topping evenly over the cream cheese filling. The crumb topping adds a delightful texture contrast to the creamy cheesecake and enhances the overall flavor profile.
- Baking Instructions:
- Setting the Oven to the Right Temperature: Preheat your oven to 325°F (163°C). This slightly lower temperature is ideal for cheesecakes, as it allows the filling to set slowly and evenly, reducing the risk of cracking.
- Baking Until the Edges Are Set and the Center Is Slightly Jiggly: Place the assembled cheesecake in the preheated oven. Bake for about 45 to 55 minutes, or until the edges are set and the center has a slight jiggle when gently shaken. The jiggle indicates that the cheesecake is perfectly cooked and will firm up as it cools. Avoid overbaking, as this can lead to a dry texture and cracks on the surface.
- Using a Water Bath for Even Baking (Optional): For extra insurance against cracking, consider using a water bath. Wrap the outside of the springform pan with aluminum foil to prevent water from seeping in, then place it in a larger baking dish. Fill the dish with hot water until it reaches about halfway up the side of the springform pan. The steam from the water bath helps to cook the cheesecake gently and evenly.
- Cooling and Chilling:
- Once the cheesecake has finished baking, turn off the oven and leave the oven door slightly ajar. Give the cheesecake an hour or so to cool in the oven. This gradual cooling process helps prevent cracks caused by sudden temperature changes.
- After cooling, transfer the cheesecake to the refrigerator and let it chill for at least 4 hours, or overnight if possible. Chilling allows the flavors to meld and the texture to set, resulting in a cheesecake that’s both creamy and easy to slice.
By following these steps, you’ll create a blueberry cheesecake crumb that’s not only visually stunning but also a delight to taste. The careful assembly and baking process ensure that every element—from the crust to the filling and crumb topping—comes together in perfect harmony.
Serving and Enjoying Your Blueberry Cheesecake Crumb
After the hard work of preparing, assembling, and baking your blueberry cheesecake crumb, the final step is to serve and savor this delightful creation. Here are some tips and ideas to ensure you and your guests enjoy every bite:
- Cooling and Chilling:
- Allowing the Cheesecake to Cool at Room Temperature: Once your cheesecake has completed its time in the oven, it’s important to let it cool gradually. Start by letting it rest at room temperature for about an hour. This gradual cooling helps prevent cracks from forming on the surface, ensuring your cheesecake is as visually appealing as it is delicious.
- Chilling in the Refrigerator for Optimal Flavor: After the cheesecake has cooled, transfer it to the refrigerator to chill for at least four hours, although overnight is recommended. Chilling not only enhances the flavor by allowing the ingredients to meld, but it also helps the cheesecake achieve the perfect texture for slicing and serving.
- Serving Suggestions:
- Garnishing with Fresh Blueberries or Whipped Cream: Before serving, consider adding a garnish to elevate the presentation and flavor. A handful of fresh blueberries scattered over the top or a dollop of freshly whipped cream can add a touch of elegance and enhance the overall taste experience. For a pop of color and a hint of freshness, you might also sprinkle some lemon zest or mint leaves.
- Pairing with Coffee or Tea for a Delightful Experience: Complement the rich, creamy texture of your cheesecake with a warm beverage. A cup of freshly brewed coffee or a soothing tea can balance the sweetness of the dessert and provide a comforting contrast. Consider offering a variety of teas, such as Earl Grey or chamomile, to suit different preferences.
- Tips for Serving:
- Slicing the Cheesecake with Precision: Use a sharp knife to slice the cheesecake, wiping the blade clean between each cut for neat, professional-looking slices. This not only improves presentation but also makes serving easier.
- Enjoying with Friends and Family: A dessert as special as this blueberry cheesecake crumb is meant to be shared. Gather your loved ones and enjoy the fruits of your labor together, creating cherished memories with each delicious bite.
By following these serving tips, you’ll maximize the enjoyment of your blueberry cheesecake crumb, turning it into a memorable dessert experience. Whether it’s a casual family gathering or a special occasion, this cheesecake is sure to impress and delight everyone at the table.
Conclusion
Creating a blueberry cheesecake crumb is more than just following a recipe—it’s an opportunity to indulge in the art of baking and to share a delightful treat with others. Throughout this journey, you’ve learned to blend the sweet, tangy flavors of fresh blueberries with the creamy richness of cheesecake, all supported by a crisp, buttery graham cracker crust. Each step, from mixing the perfect filling to baking and chilling, has contributed to a dessert that’s both visually stunning and irresistibly delicious.
This homemade blueberry cheesecake crumb stands as a testament to how simple ingredients can come together to create something truly extraordinary. By carefully selecting high-quality components and following the techniques outlined, you’ve crafted a dessert that not only satisfies the taste buds but also brings joy and satisfaction to those who enjoy it. Whether served at a festive gathering or as a special treat for yourself, this cheesecake is sure to leave a lasting impression.
As you savor each bite, remember that baking is about exploration and creativity. Feel free to experiment with variations, such as adding different fruits or spices, to make the recipe your own. Perhaps next time, you’ll try incorporating a hint of cinnamon into the crumb topping or infusing the filling with a touch of almond extract for a unique twist.
Thank you for joining this baking adventure, and I hope it has inspired you to continue exploring the world of homemade desserts. Whether you’re a seasoned baker or a novice just starting, the joy of baking lies in the journey and the pleasure of sharing your creations. Here’s to many more delicious endeavors in the kitchen!

